
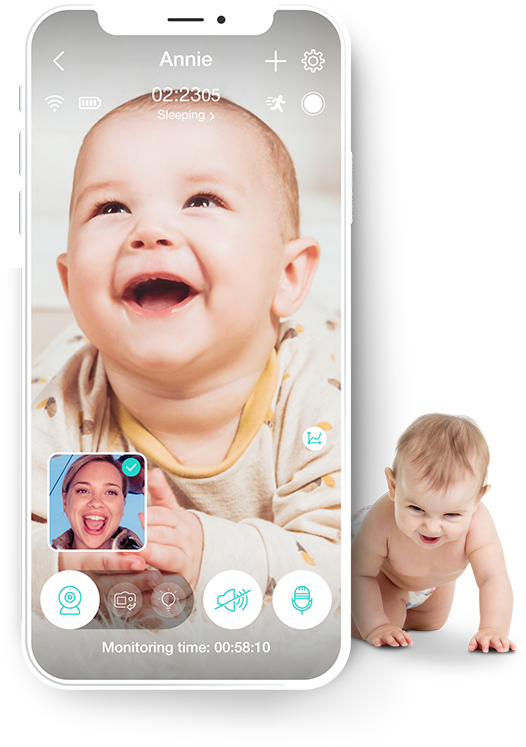
Stunningly reliable baby monitor
The leading app in our streaming apps family. Steadily on the top 3 positions on the US app store with 16k monthly active users.
See case study
“Even though we thought our requirements were clear from the beginning, MasterAPP proactively helped us with all the missing parts. Thanks to their passion for startup development we were able to build, test and analyze our startup very effectively.”
PAVEL ŽÁK | CTO VMCOM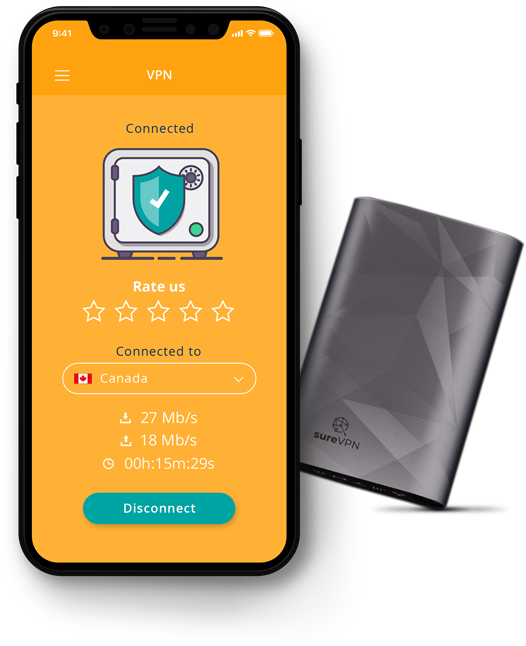
Safe tunnel for internet connection
The successful VPN app is now supported by a unique hardware enabling a distant connection to a home network. Anytime, anywhere.
See case study
“Our concept of mobile application was fairly clear from the outset. Easy access to internal system for our dealers. And the MasterAPP developers completed it to the point.”
JAN PEŠAVA | HARTMANN GROUP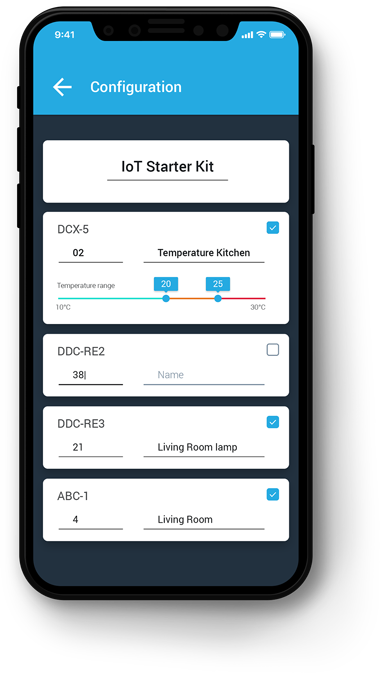

Easy start for IoT projects
The IoT Starter App opens the doors for pilot IoT projects within an IQRF network. As the sole IQRF provider, we handled the integration of all network standards.
See case study
„Cooperating with MasterAPP has truly surpassed our expectation, especially when it comes to flexibility and speed. The developers are pros at what they do and it’s a pleasure to work with them.“
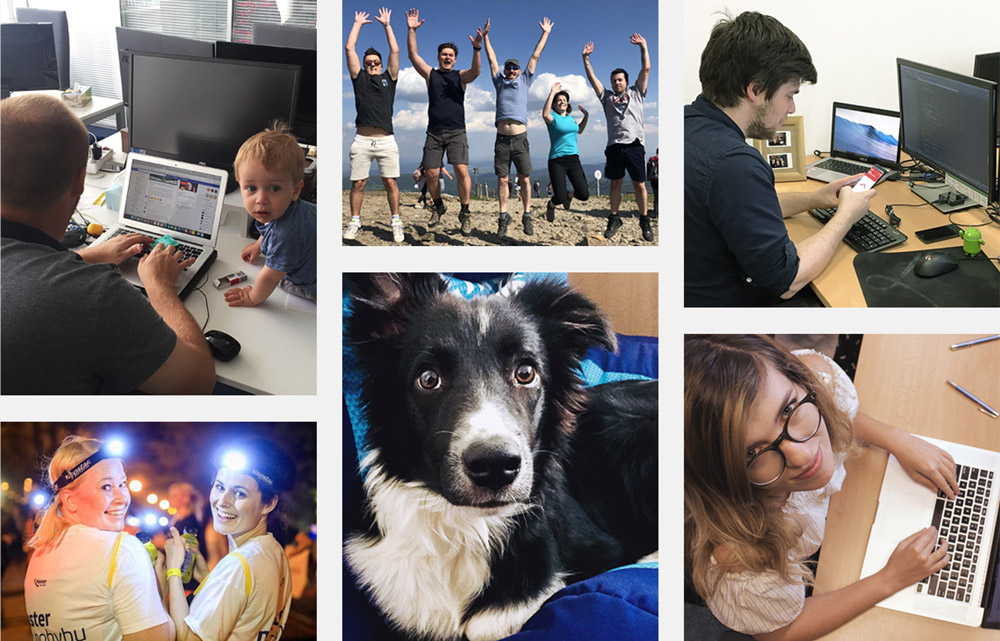
ŠIMON CHUDOBA | CEO IQRF ALLIANCEDevelopment team
Custom application
Contact us. We’ll talk about your idea and put your vision into perspective. And if you give us the green light, we’ll start developing.